Create firebase project
Overview
Firebase, a robust app development platform offered by Google, furnishes developers with an extensive array of tools and services aimed at building, enhancing, and expanding their apps effectively. From analytics to databases, messaging, crash reporting, machine learning, and beyond, Firebase encompasses a broad spectrum of functionalities.
Tailored to facilitate the creation and expansion of web and mobile applications, Firebase simplifies the development journey by providing a diverse suite of tools and services. By streamlining the development process, Firebase empowers developers to implement core backend functionality seamlessly, eliminating the need to manage servers or write server-side code.
Prerequisites
Before creating an account on firebase you must have a google account.
Step 1: Enter URL in the Browser
Open a web browser and enter the following URL in the address bar

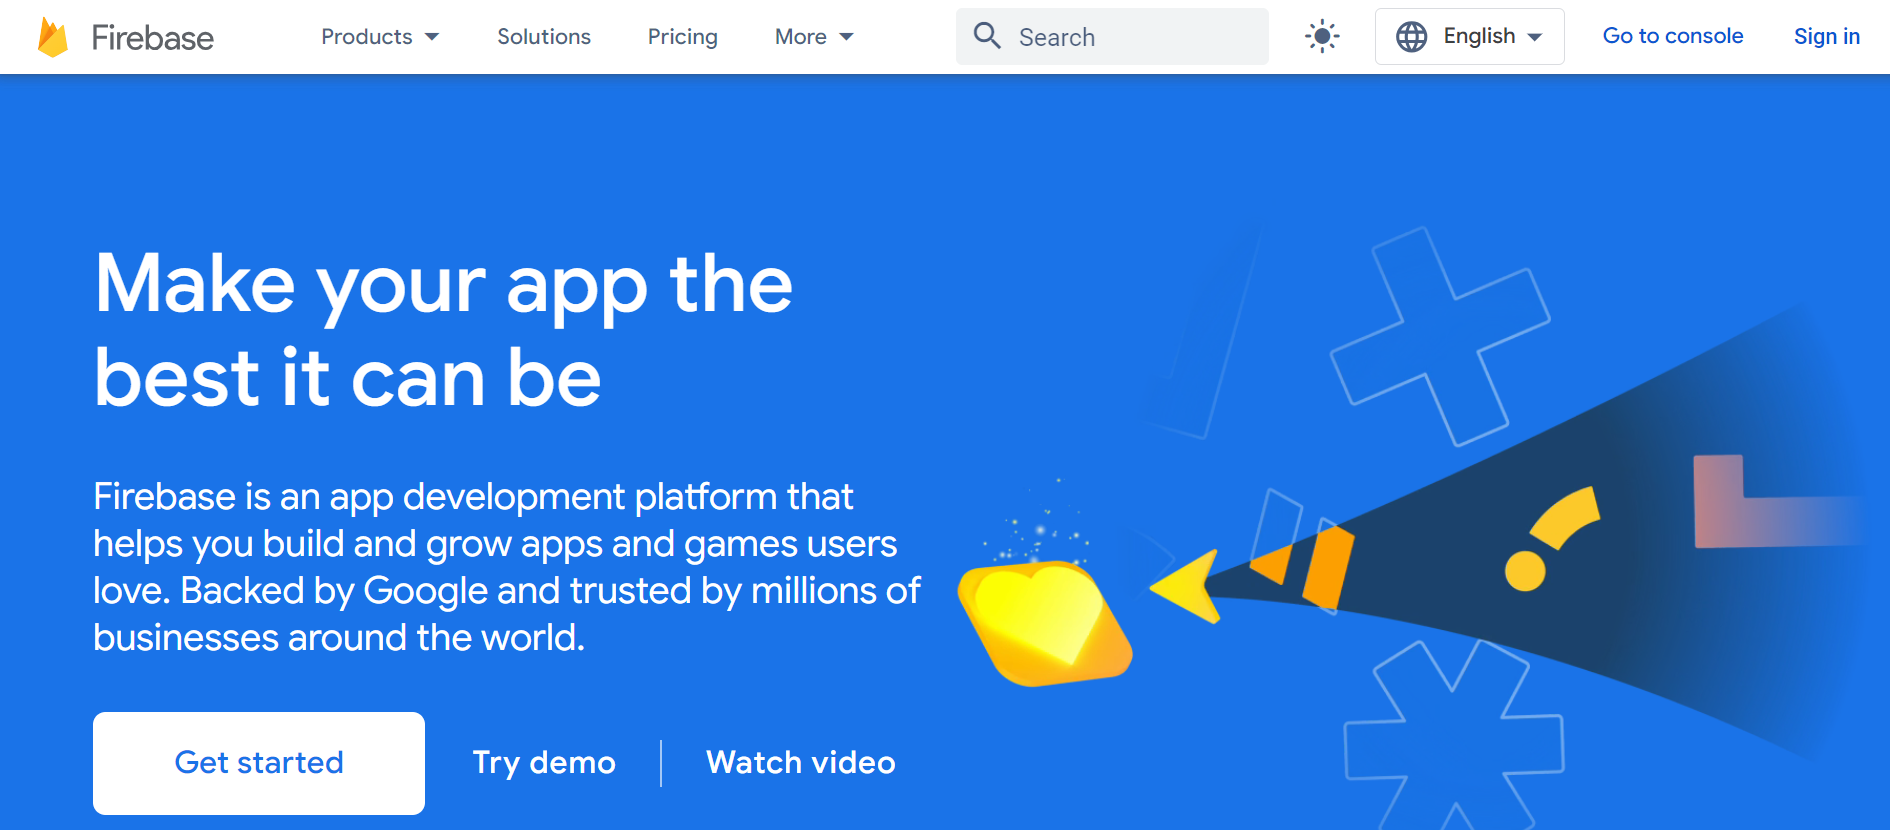
Step 2: Redirects to Firebase Platform
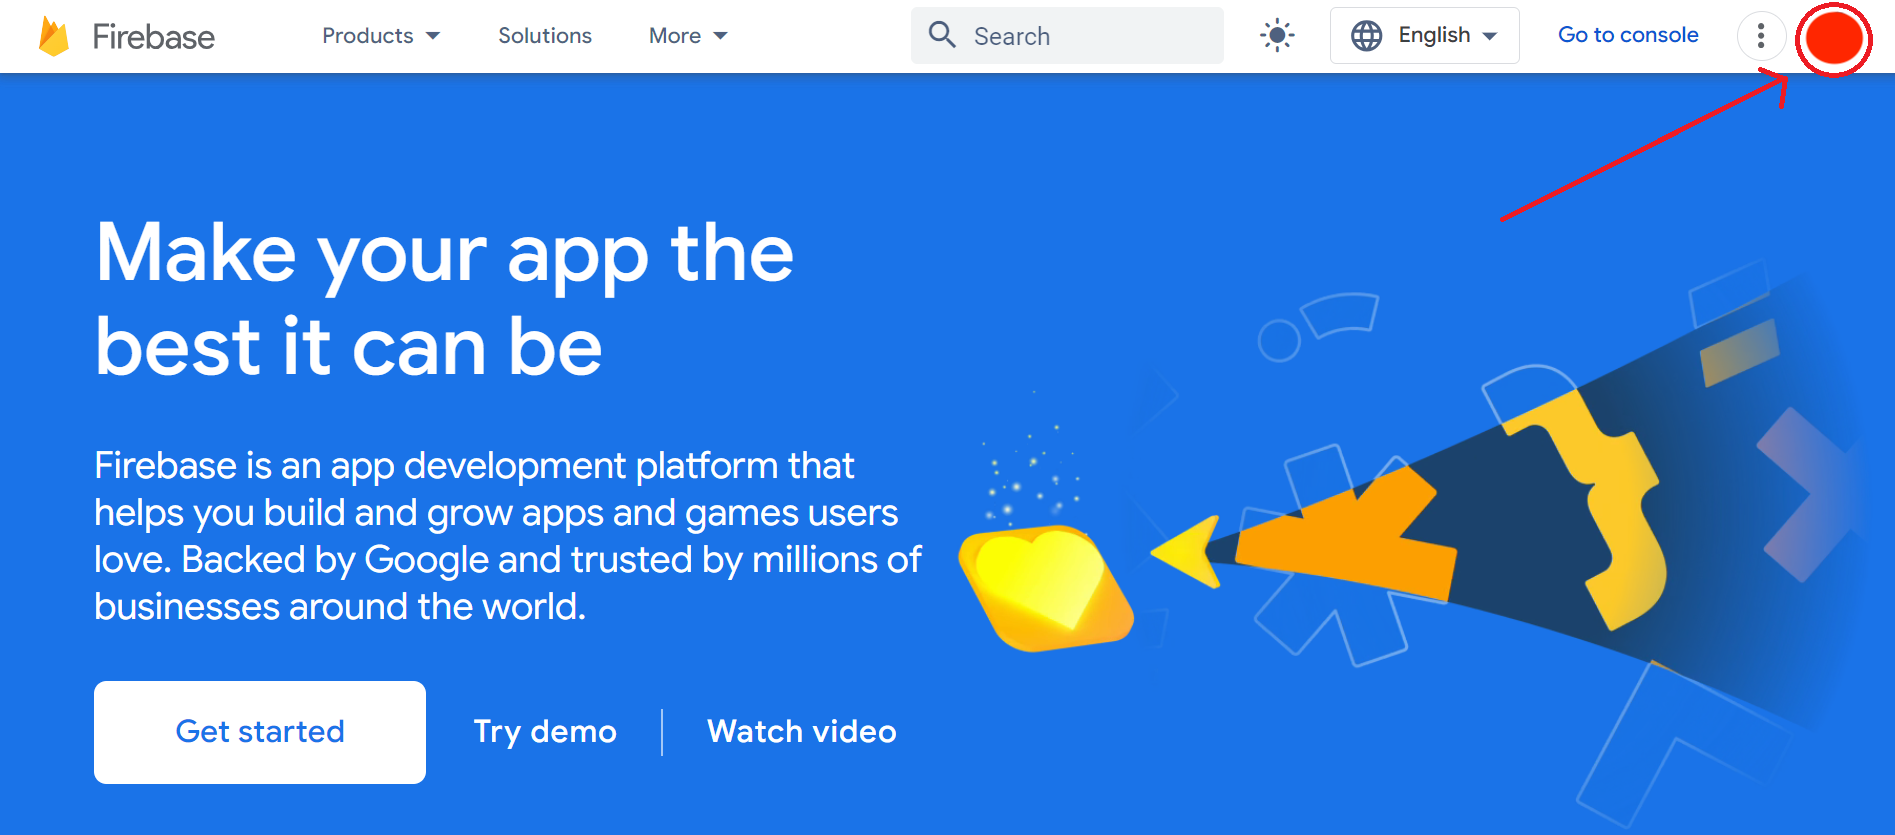
After pressing enter button, system will redirects swiftly to firebase platform.
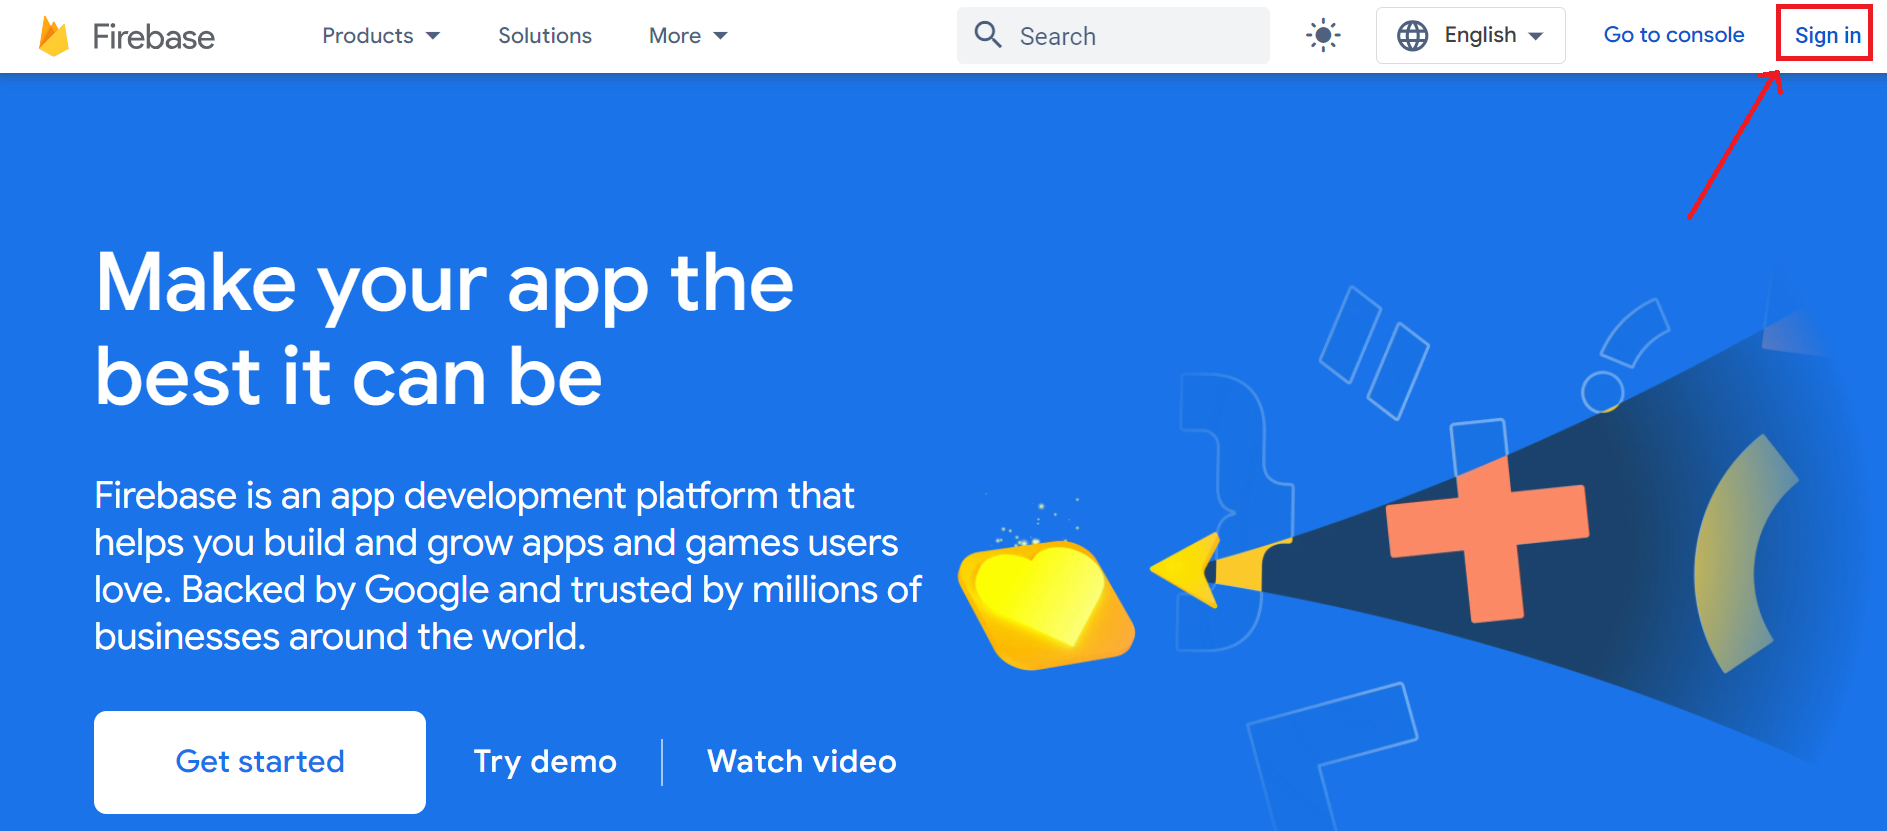
Step 3: Sign In to Firebase
Click on the button Sign-In placed at the top right corner of the screen to get all the services offered by firebase. move the cursor to the sign-in button and click on it.
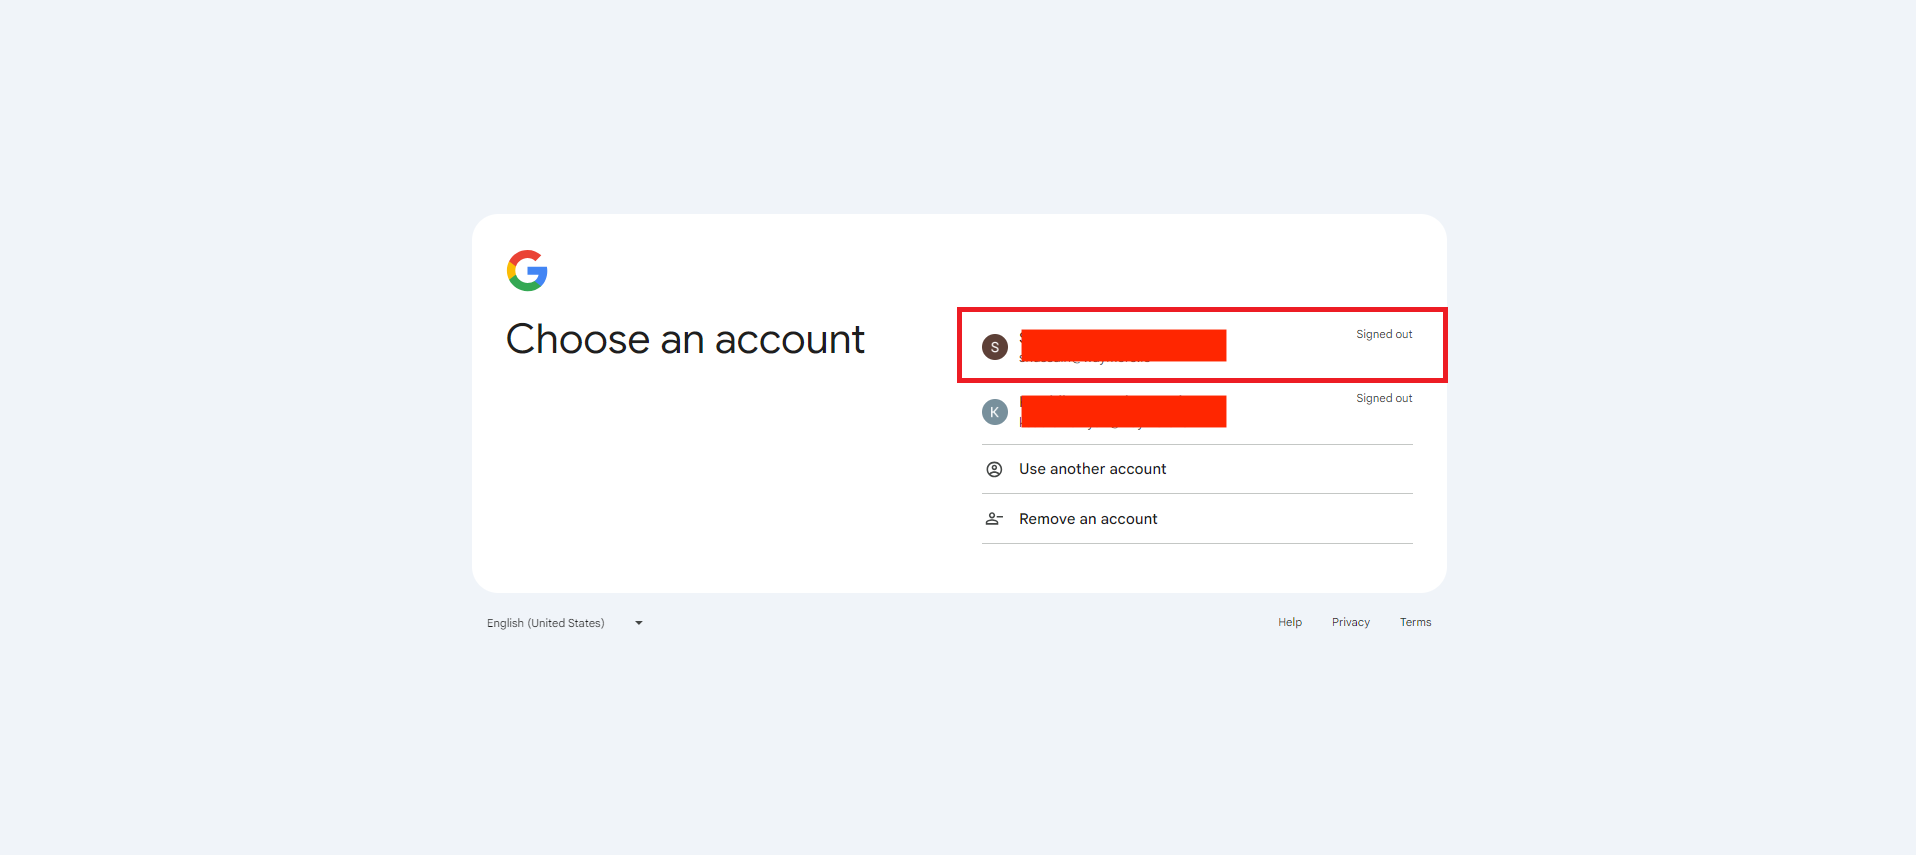
After clicking on Sign-In button. account selection screen will be displayed on which already used account list will be displayed to select any particular account. There is also an option to add another account OR to delete the existing accounts
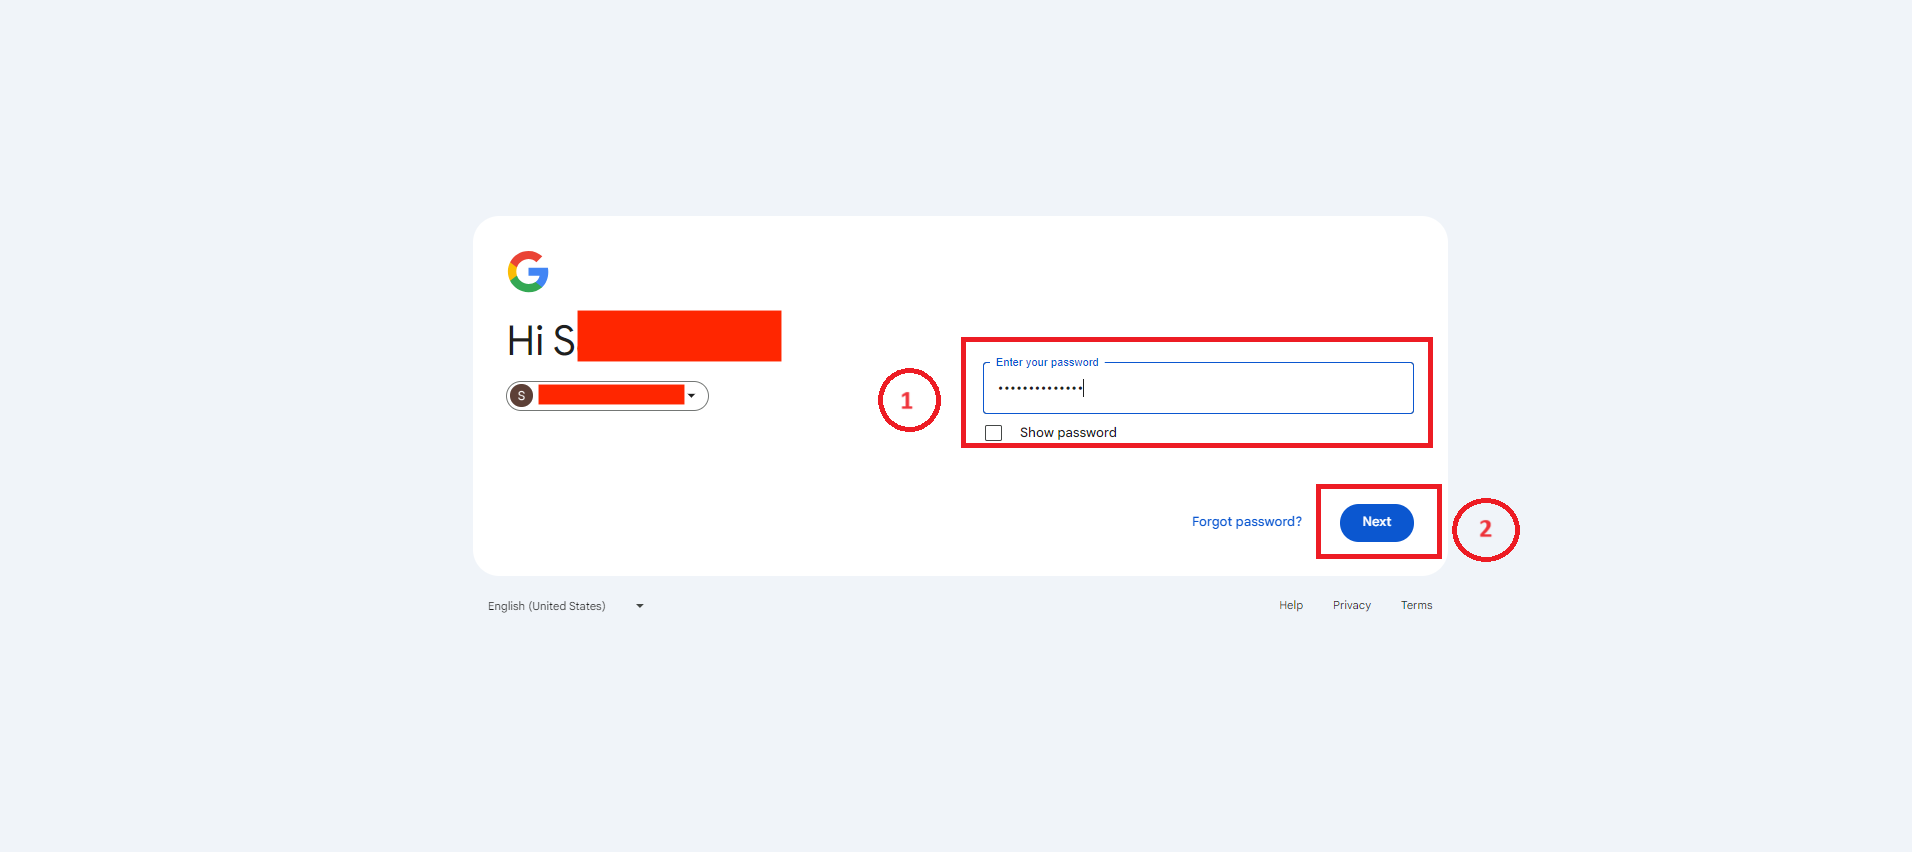
Once account will be selected, a screen will be displayed to enter the password. After password will be inserted click on Next button.
After the authentication process is successfully completed, the system will redirect the user back to the Firebase platform. At this stage, the presence of the user's profile photo indicates that the Google ID (used during the authentication process) has been successfully mapped and linked with their Firebase account. This link ensures that the user's identity has been verified and integrated with Firebase, allowing for a personalized and secure experience on the platform. The display of the user's profile photo serves as a visual confirmation that the integration between Google ID and Firebase has been effectively established, enabling the user to proceed with using Firebase services with their authenticated account.
Step 4: Get Started
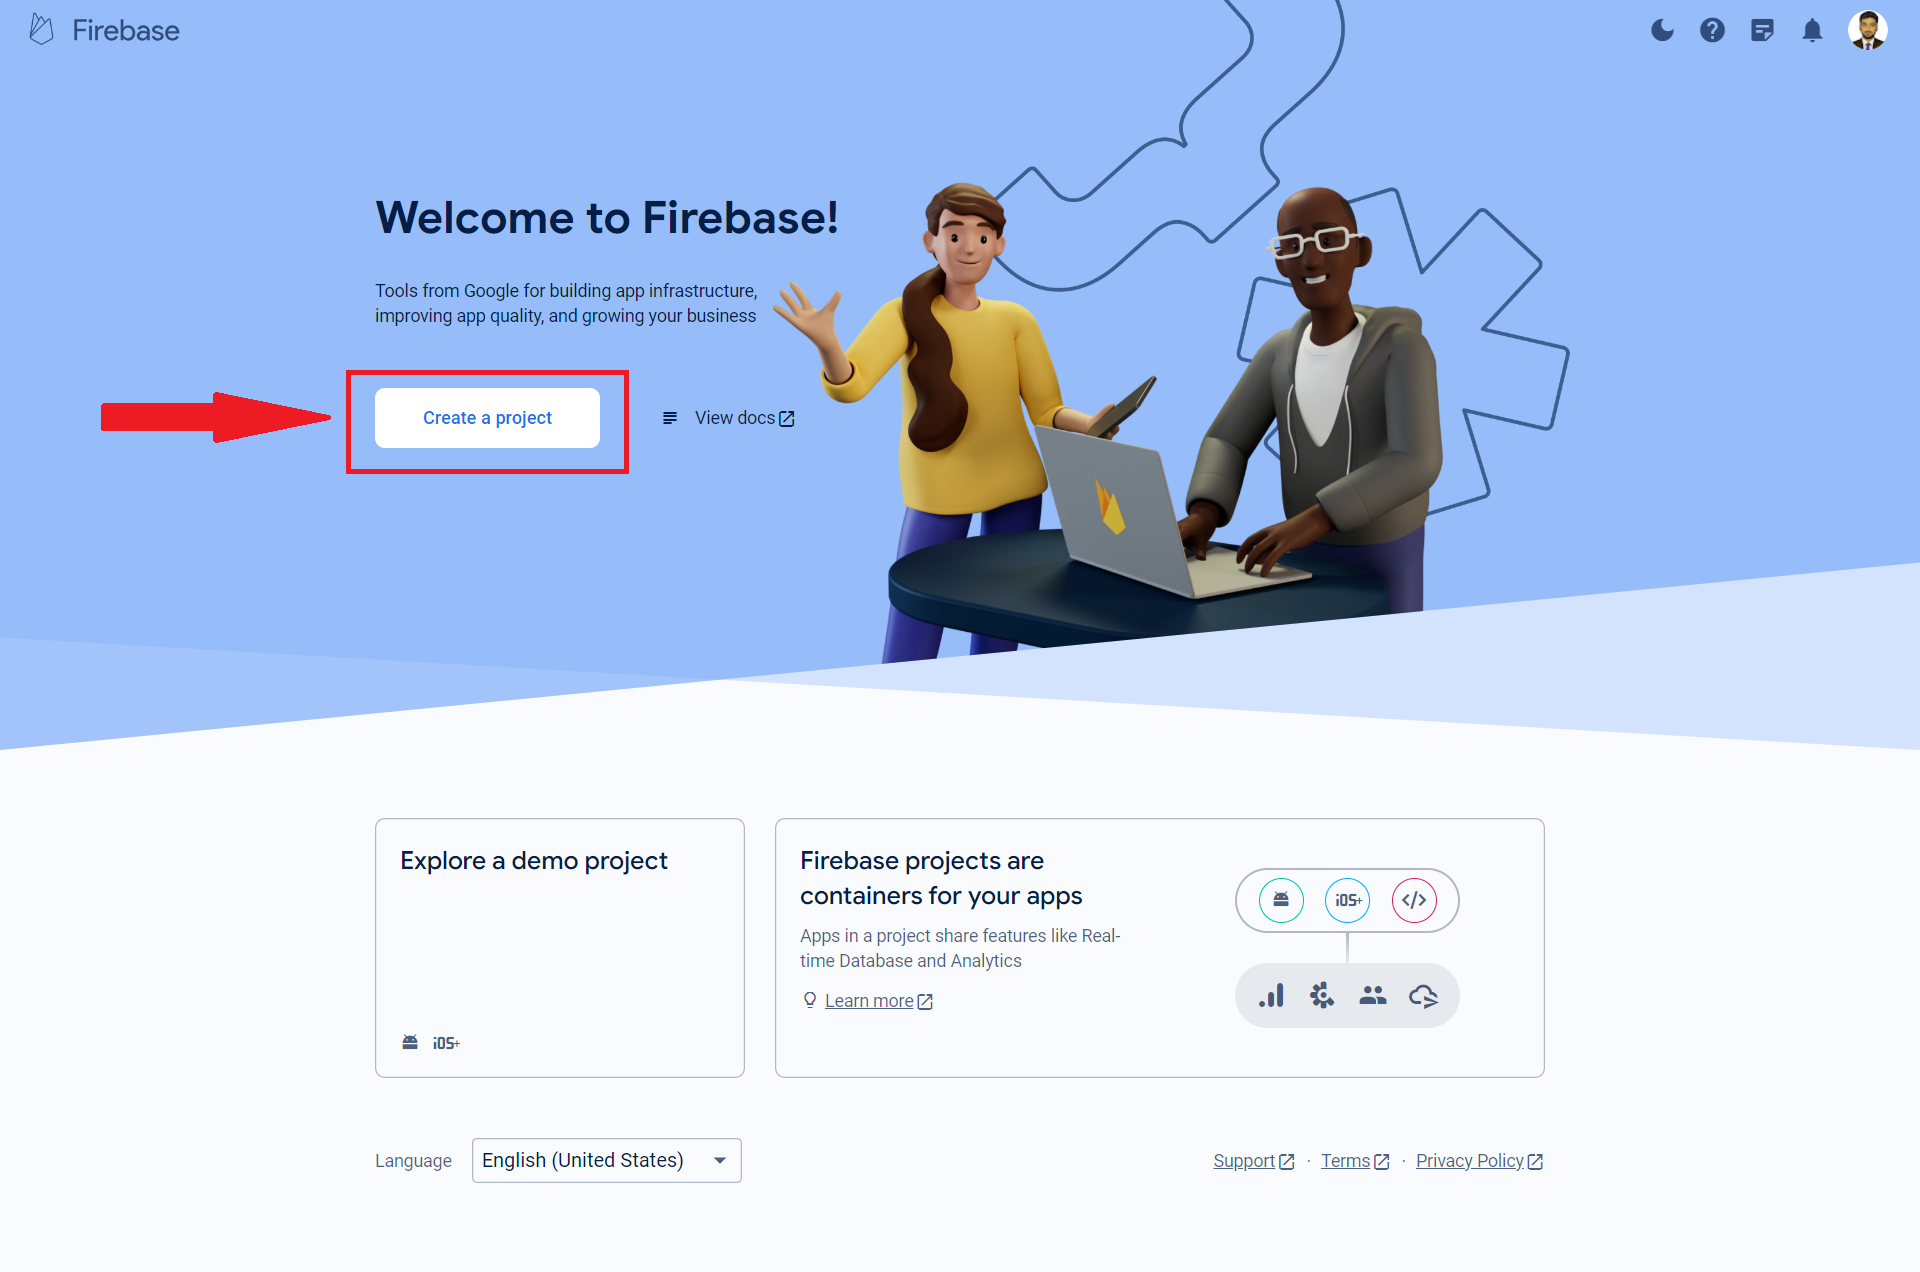
Once your account is successfully established, the next step involves beginning the creation of your Firebase project. To proceed, you simply need to click on the "Get Started" button. This action will guide you to the initial phase of project setup where you can configure various aspects of your Firebase project such as defining its name, setting up initial services, and configuring settings specific to your application needs.
Step 5: Redirects to Console Firebase
After clicking Get Started button, system will redirects to the link
https://console.firebase.google.com/

Note: If you are already signed in, you can click the Go to console button and you will be redirected to https://console.firebase.google.com/
Step 6: Create a Project
In this step, you will be redirected to https://console.firebase.google.com/ where you can create a new project. Click the “Create a project” button and follow the Wizard. Project creation consist of three steps which are as under:
- Let's start with a name for your project
- Enable Google Analytics Checks
- Configure Google Analytics
Step 6.1: Let's start with a name for your project
Enter your project name, Text length must be at least 4 characters long and it is a required field
Click checkboxes as under:
- I accept the Firebase terms
- I confirm that I will use Firebase exclusively for purposes relating to my trade, business, craft, or profession.
Once check boxes will be checked, the continue button will be enabled. Click on Continue button.

Step 6.2: Enable Google Analytics Checks
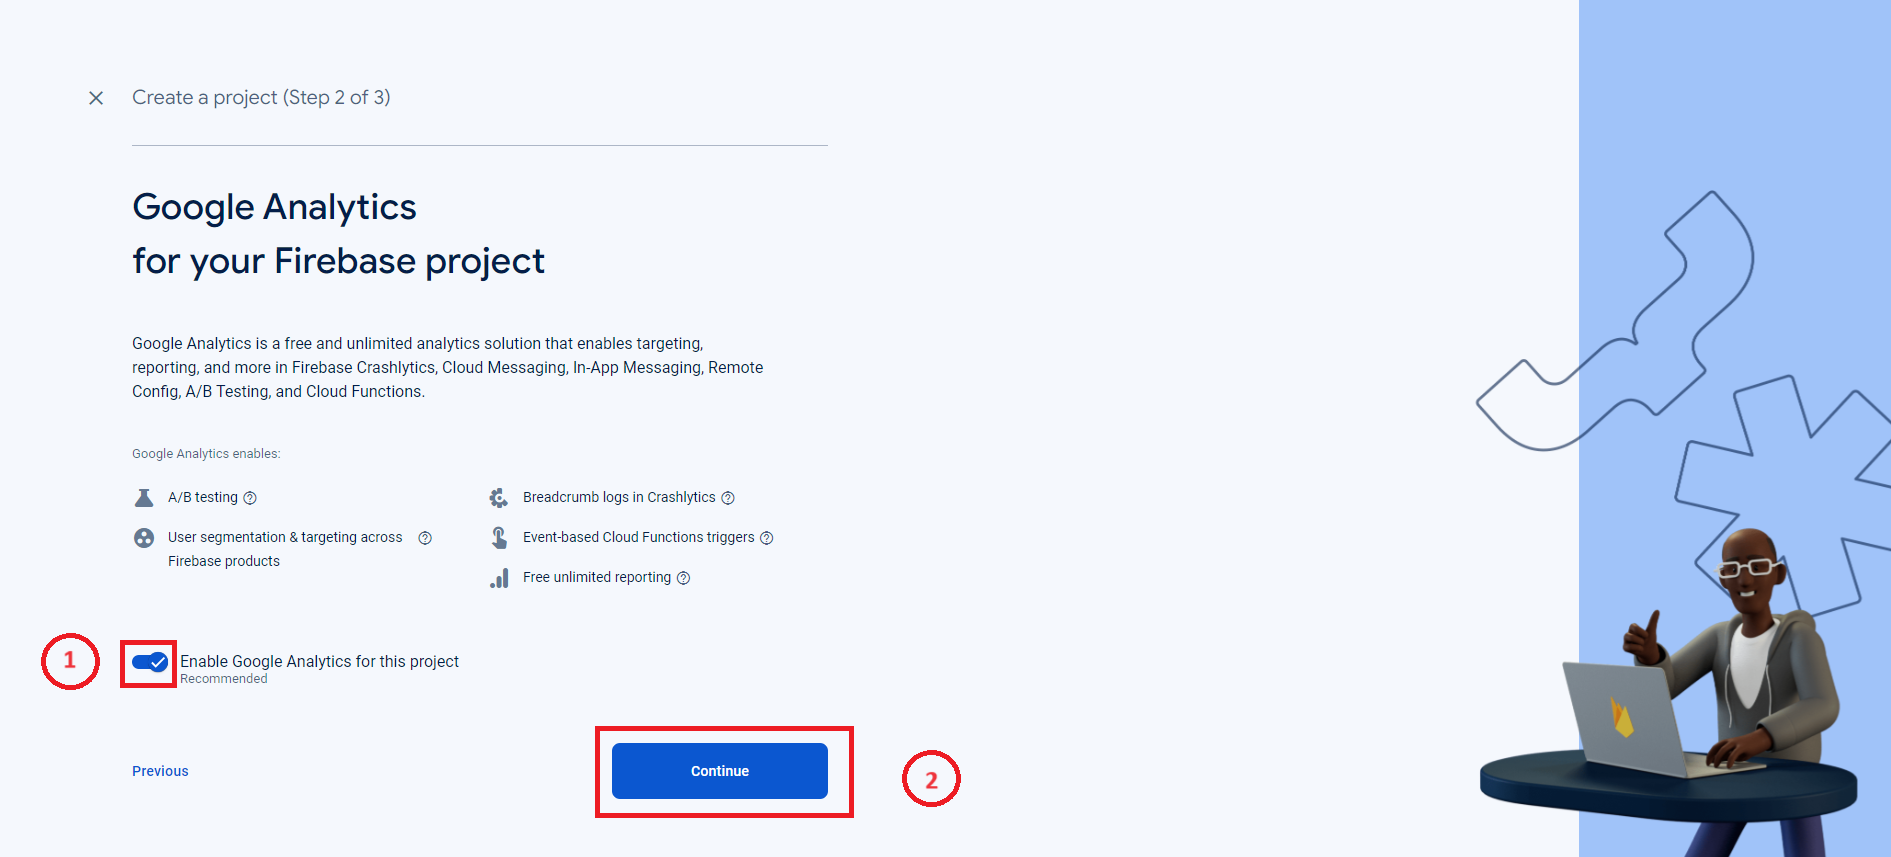
In this step, you will be able to enable all the checks mentioned here by enabling the toggle button. I confirm that I will use Firebase exclusively for purposes relating to my trade, business, craft, or profession. “Enable Google Analytics for this project”. Turning on this option unlocks several powerful tools and capabilities within Firebase:
- A/B Testing: This allows you to test different user experiences and functionalities in your app to determine which variations perform the best among your users.
- Breadcrumb Logs in Crashlytics: By enabling this, you can enhance your app’s crash reporting by including "breadcrumbs" – a trail of events leading up to a crash. This helps in pinpointing the cause more effectively.
- User Segmentation & Targeting across Firebase Products: This feature lets you segment your user base and target specific groups with tailored functionalities, messages, and promotions based on their behavior and preferences.
- Event-Based Cloud Functions Triggers: This allows you to run backend code in response to events triggered by Firebase features and HTTPS requests, without managing servers.
- Free Unlimited Reporting: With Google Analytics enabled, you gain access to unlimited reporting on up to 500 distinct events, helping you make data-driven decisions to enhance your app’s performance and user experience.
Step 6.3: Configure Google Analytics
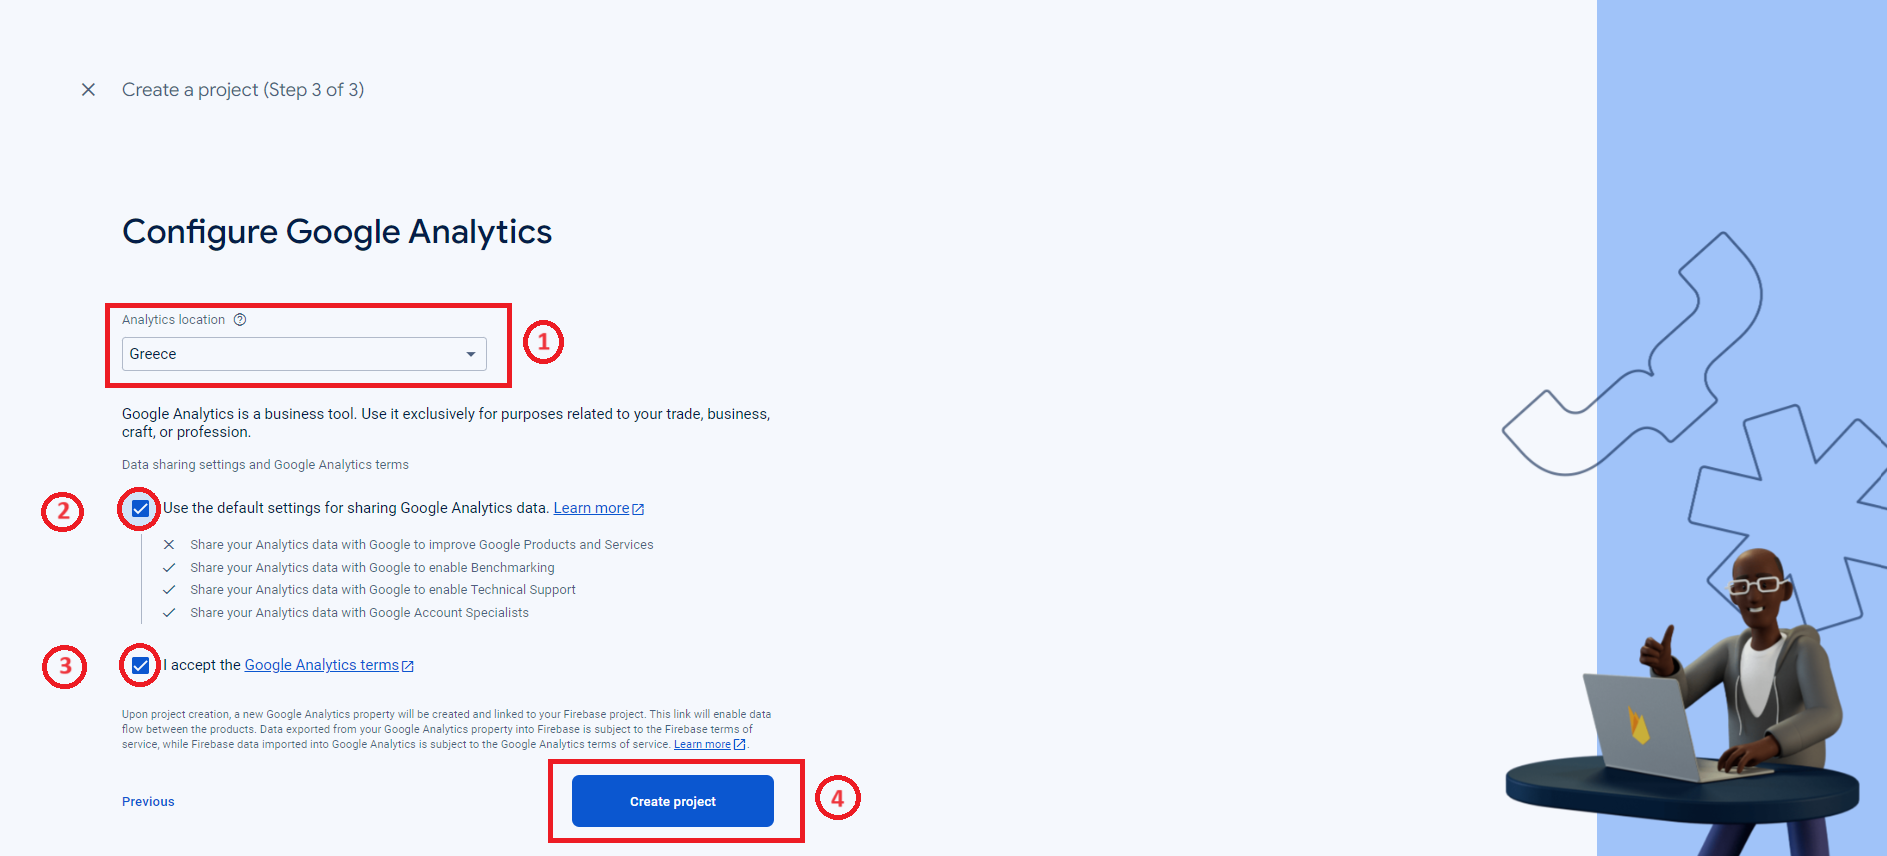
Step 3 is a configuration step in which few checks will need to be enabled, Accept the Google Analytics terms and select the analytics location e.g. Greece
once all the checks will be enabled, click the Create project button.
The system will process few seconds and this screen will be displayed

Once creation will be completed, Success message will be displayed “The Firebase Project is Ready” with a button “Continue”.

Step 7: Get Started by adding Firebase to your App
When your project is created, System will redirects to this interface, here you can add Firebase to your app (iOS, Android, Web). All the 3 icons are available here to start the process of adding firebase to your application.
