IP Whitelisting
Restrict API access to approved IP addresses for an extra layer of account security.
Visit https://go.routee.net to get started with your Account! Firstly, you'll need a Routee account.
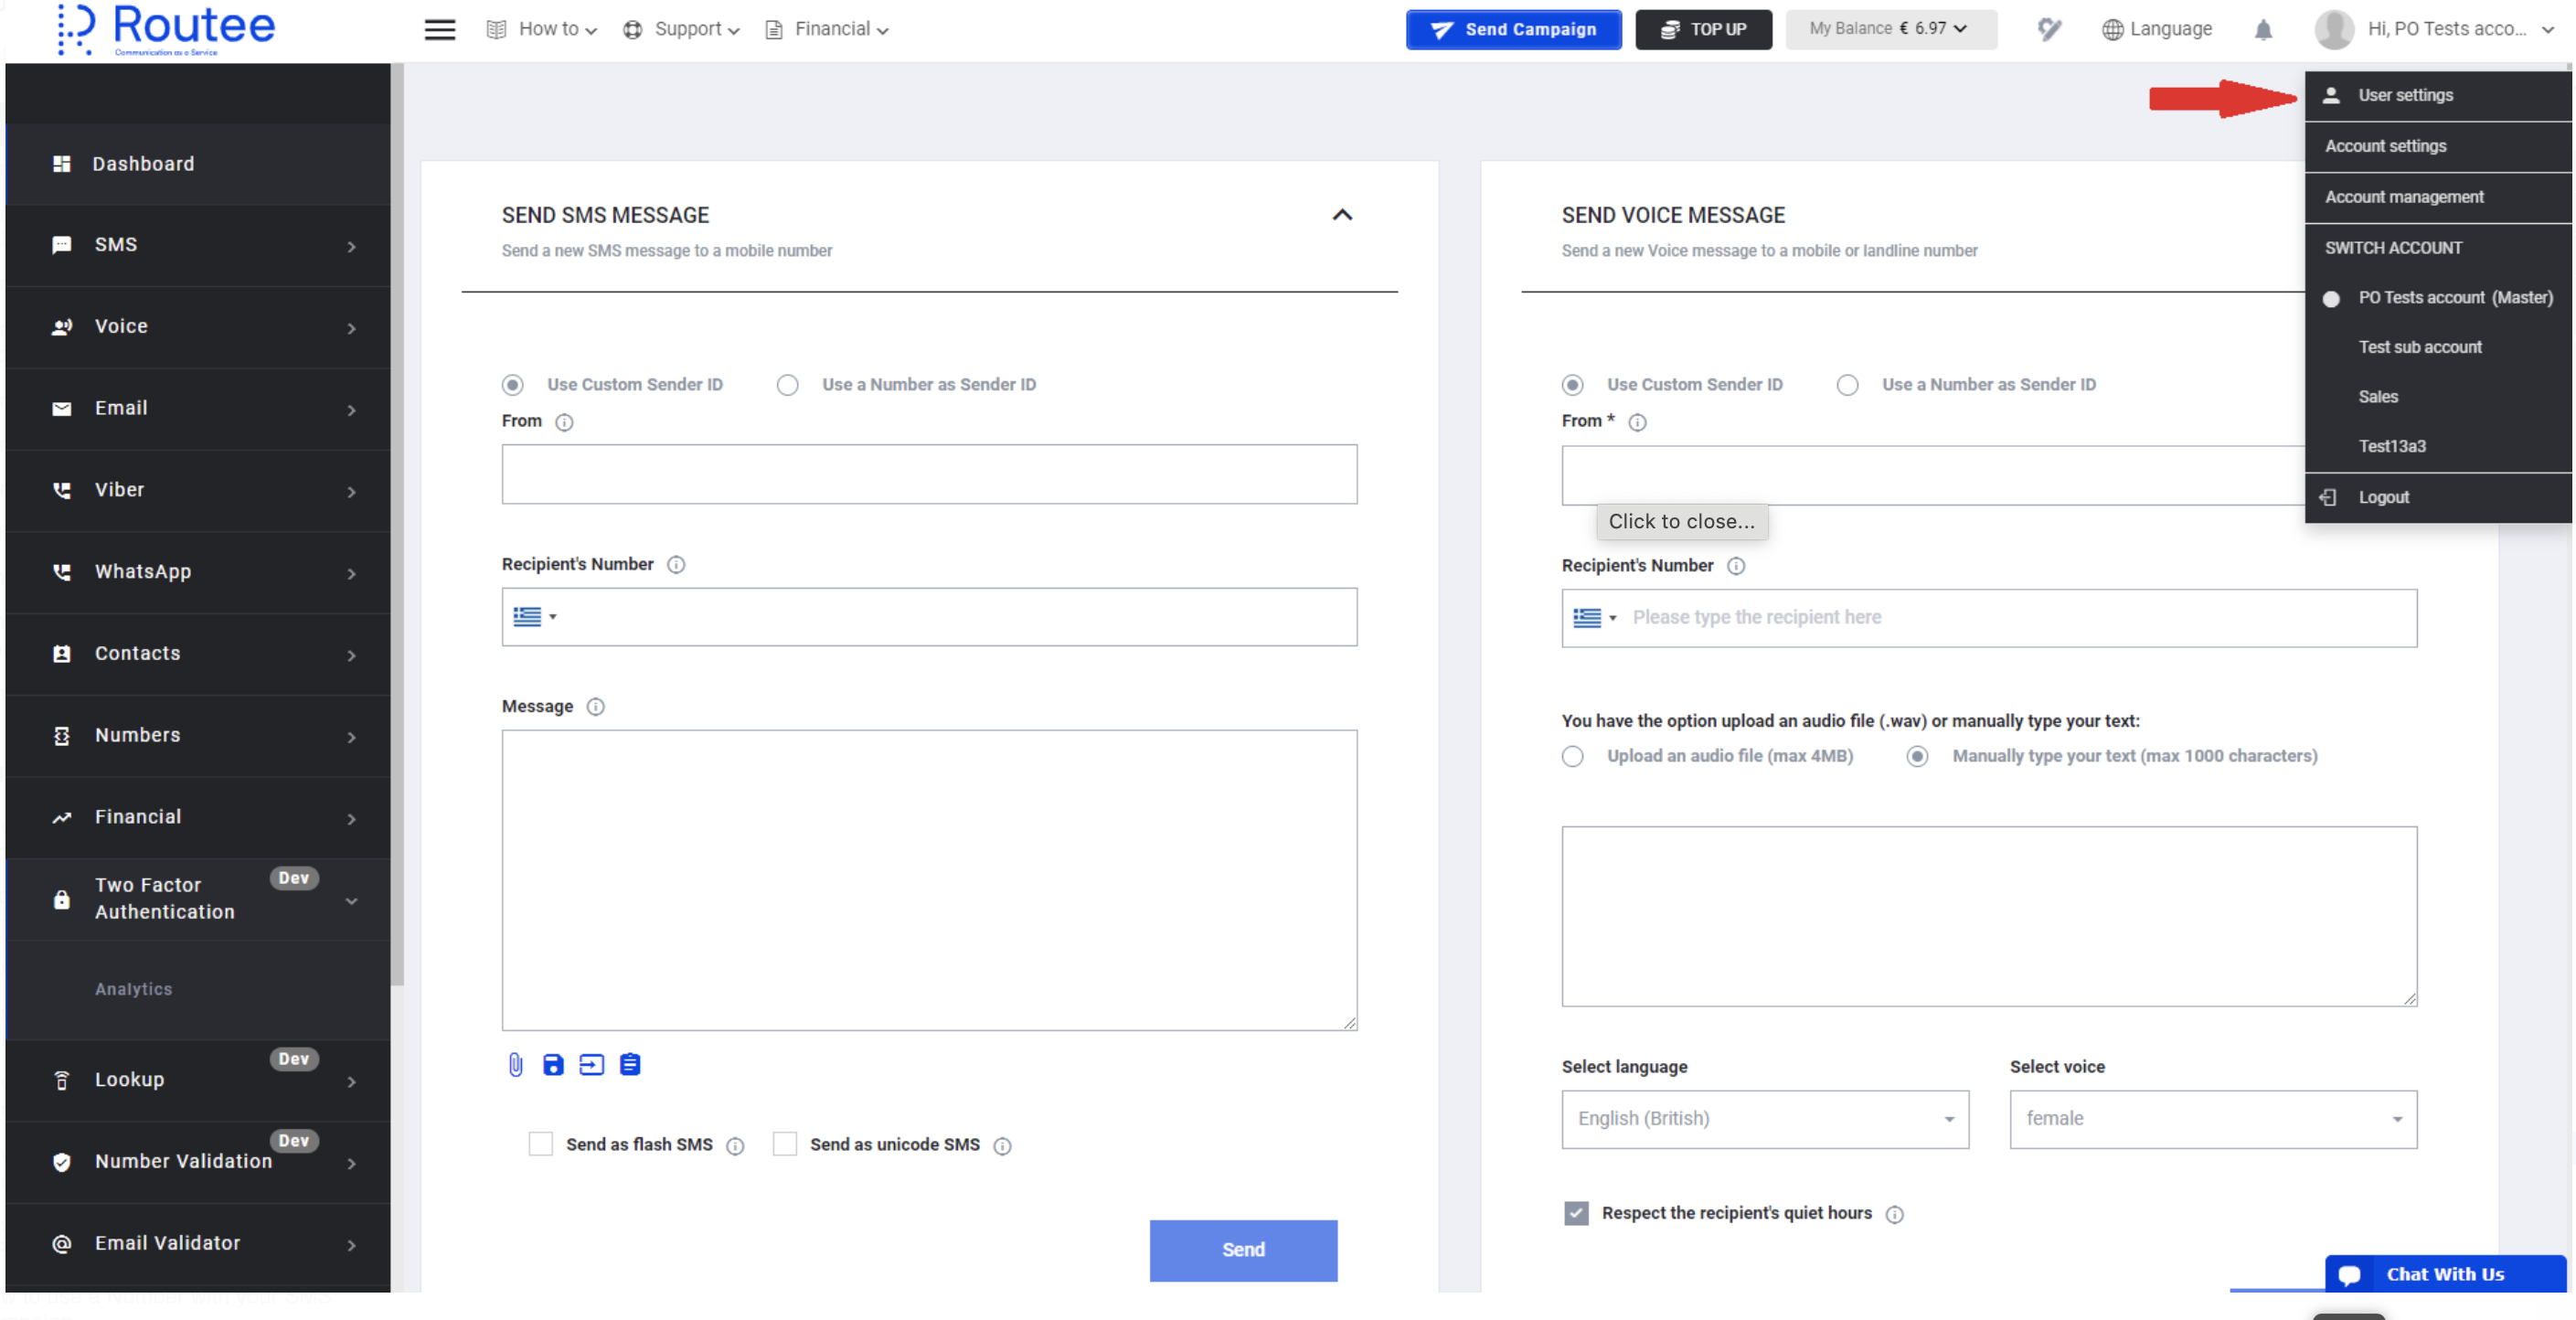
When you are logged in, select User Settings from the menu in the top-right corner.
Scroll down and you will navigate to the Platform Access section.

In the field you can enter the IP or the list of IPs, using which a user can have access to the Routee Dashboard.
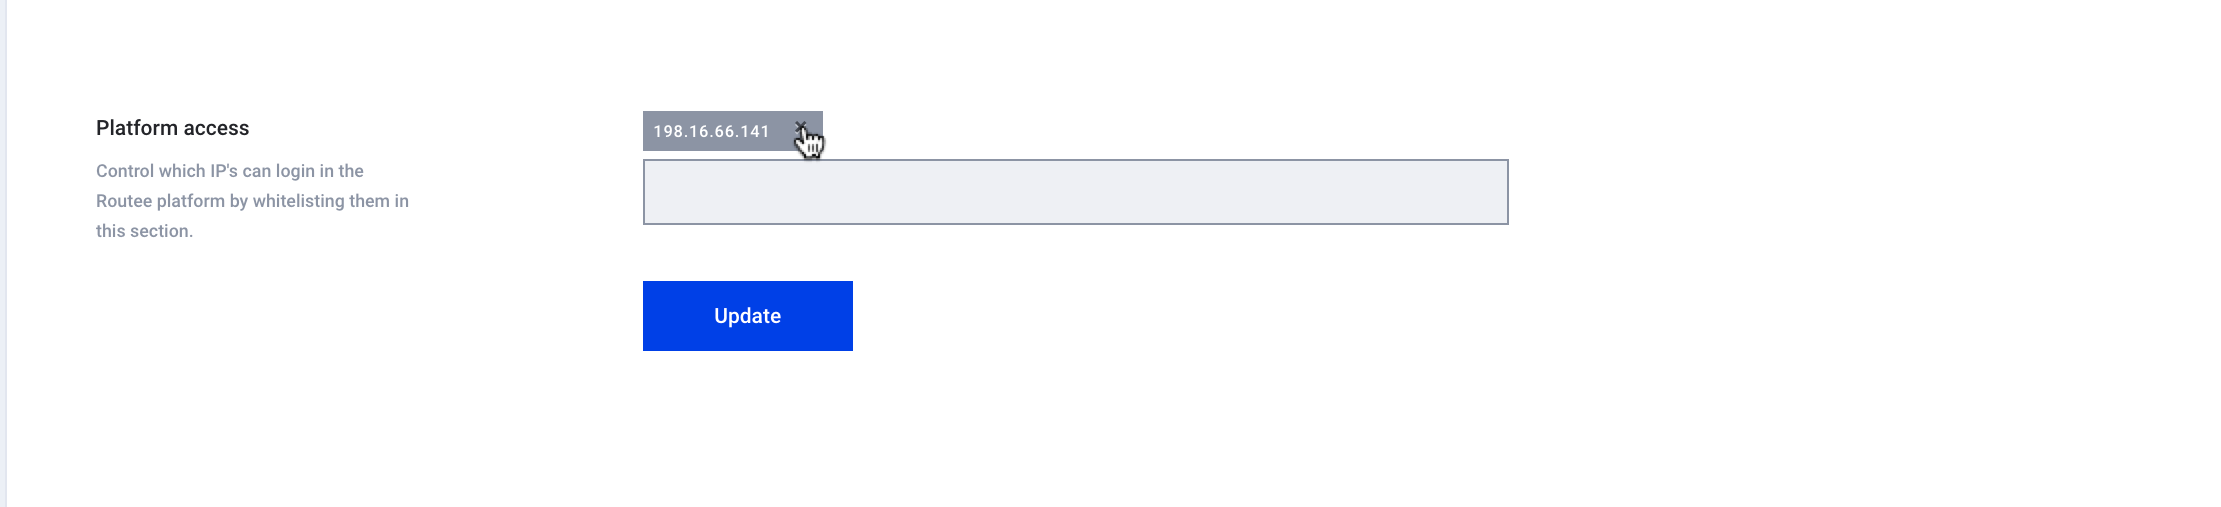
If the entered IP has a correct form, the IP will appear above the field and the “Update” button will be activated.
You are welcome to enter several IP addresses, separating them with space. The IP ranges are also supported.
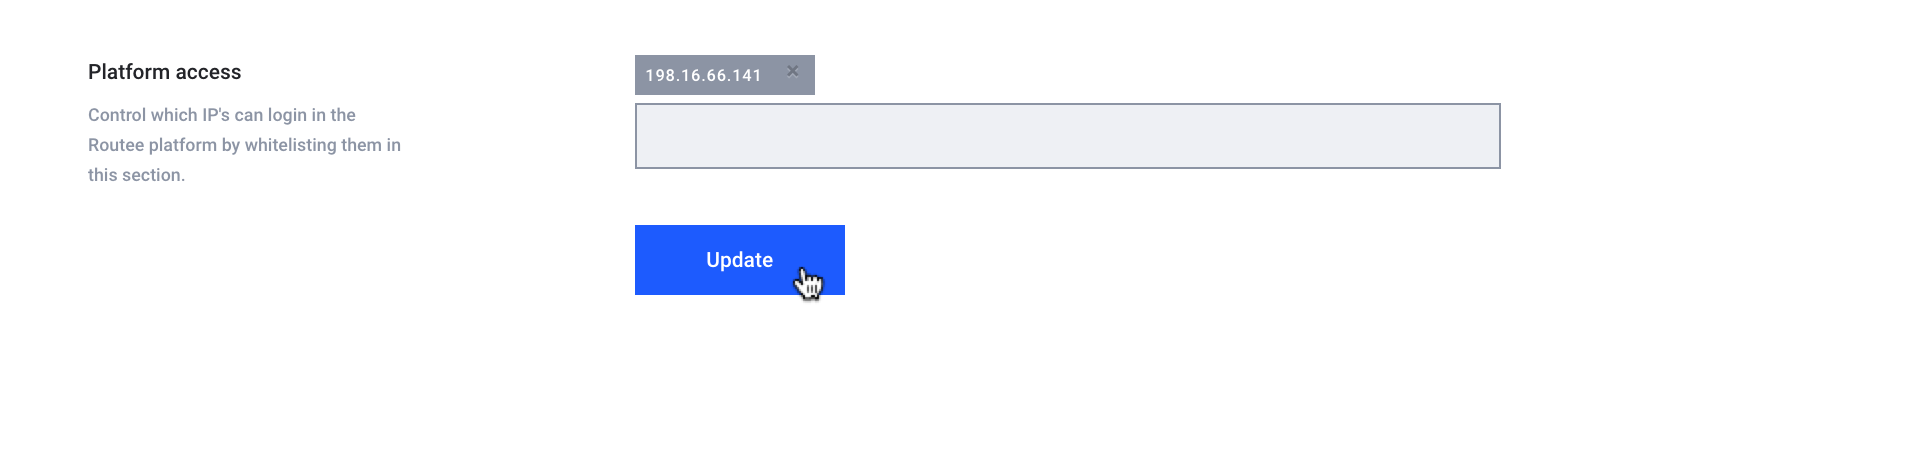
After clicking the “Update” button, a popup will appear to confirm your action.
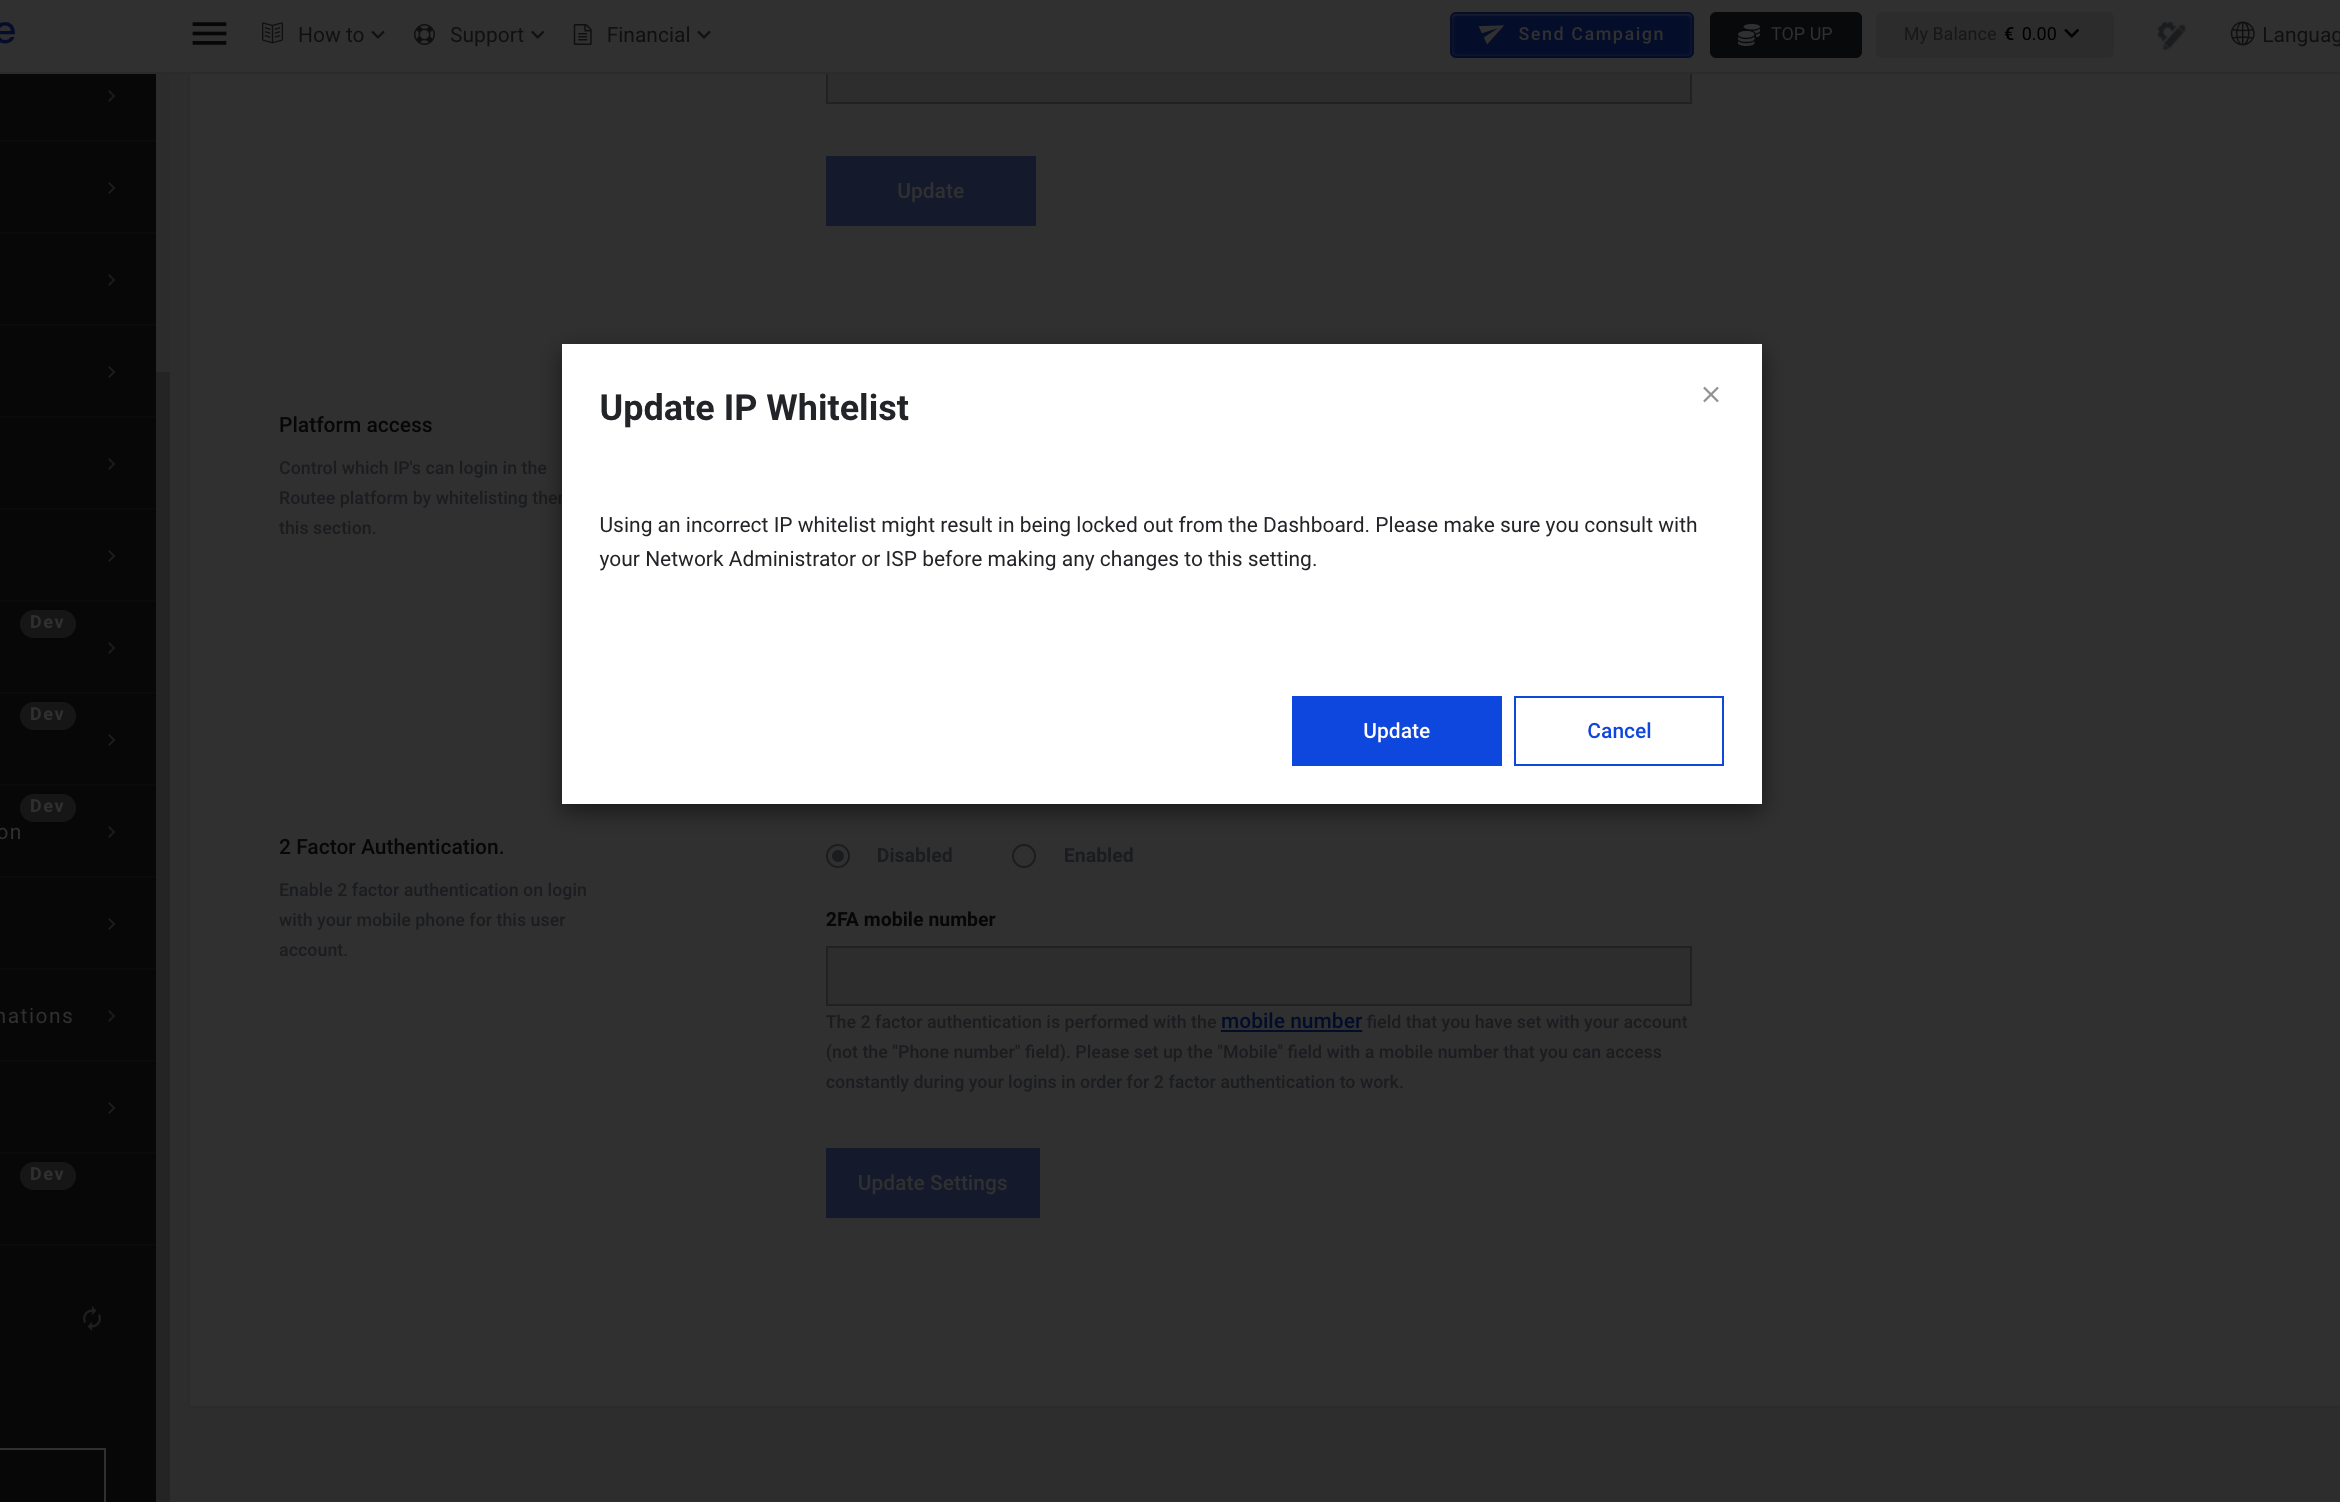
Please make sure that the provided IP is correct, as updating this setting may result in locking yourself out of the Dashboard. If you have any hesitations about setting up IP whitelisting, please consult your Network Administrator or ISP before making any changes.
After clicking the “Update” button the provided IP(s) will be saved. Now, when logging in to Routee, in addition to your login and password verification, your IP will also be verified.
To manage IP whitelisting and disable this feature, click the ‘x’ next to the IP and click ‘Update’ button. IP whitelisting will be deactivated for your account.