

Setting up your account
Verify your sending domain (SPF + DKIM) and authorize sender addresses before you can send transactional email.
Before you send transactional email, you need a verified domain and at least one authorized sender address. This guide walks through both steps in the Routee portal on go.routee.net.
Why register a domain?
Declaring a domain tells Routee you have authority to send on behalf of that domain. Two DNS changes are required:
- SPF — include
email.routee.netin your SPF record so receiving servers trust mail sent via Routee infrastructure. - DKIM — publish the TXT record Routee generates so messages are cryptographically signed on your behalf.
Together, SPF and DKIM improve deliverability and protect your domain from being flagged as phishing.
Add a new domain
- Navigate to Email → Domains in the portal.
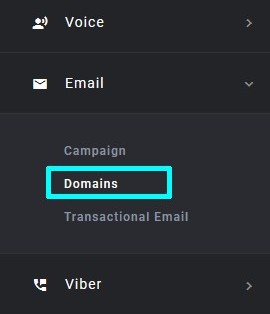
- Click Add Domain, enter your domain name, and confirm.
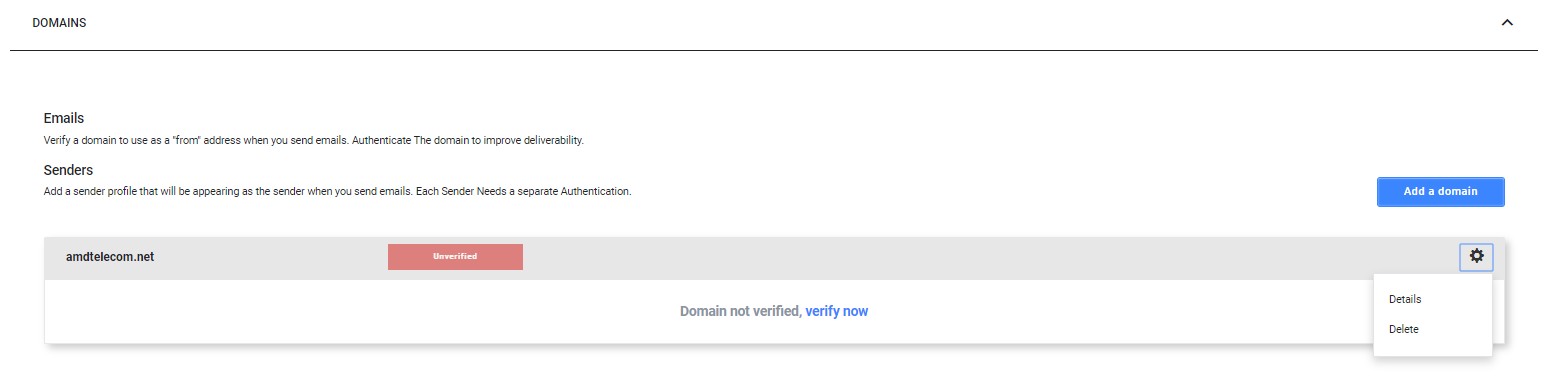
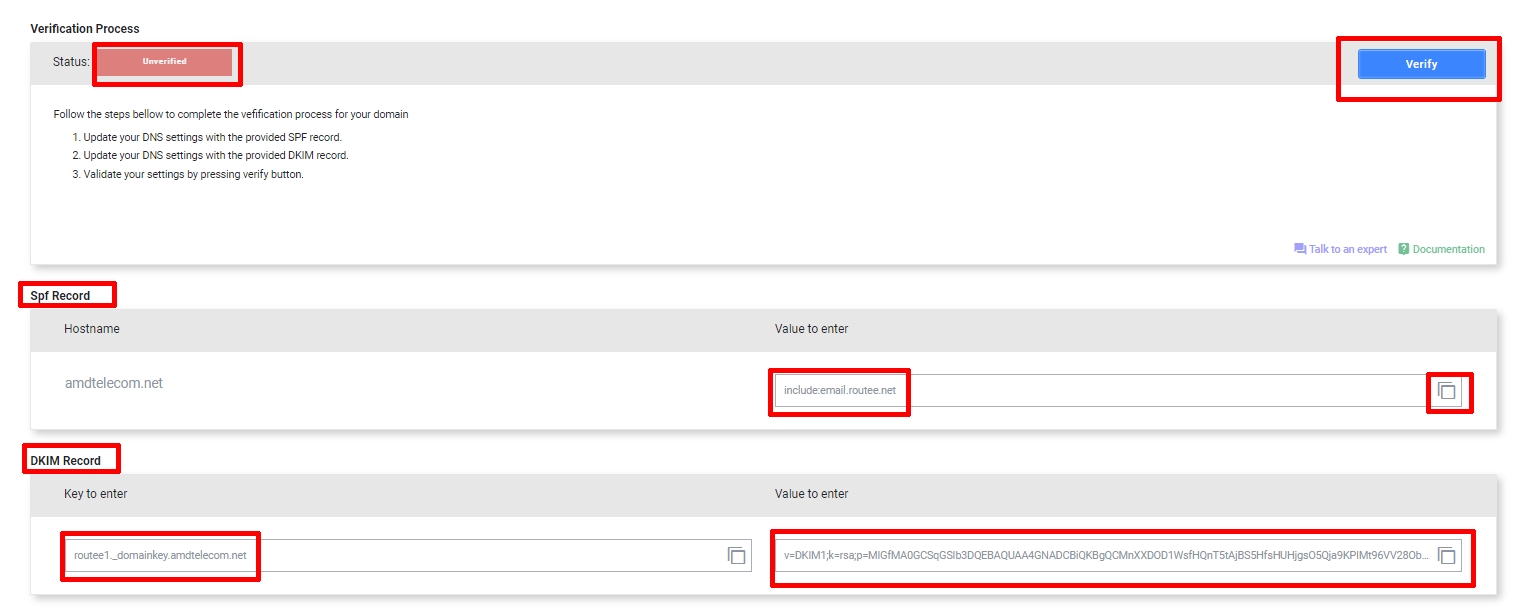
- Open the domain Details page to view SPF and DKIM records.
-
Add the DNS records to your domain registrar:
- SPF — your record should include
include:email.routee.net, e.g.v=spf1 mx include:email.routee.net ~all - DKIM — add a TXT record at
routee._domainkey.{yourdomain}with the public key Routee provides
- SPF — your record should include
-
Click Verify. Once DNS propagates, the domain status changes to Verified.
Authorize a sender
After a domain is verified, add the email addresses you want to send from:
- On the domain details page, add an Authorized Sender address (must belong to the verified domain).
- Routee sends an invitation email with a personalized verification link (valid 72 hours).
- The recipient clicks the link — the sender status changes to Verified.
- If the link expires, you can resend the invitation from the portal.
Once at least one sender is verified, your domain is ready to send.
Next stepSend your first email (HTTP API) or see Domain & authorized senders for the full reference.
Updated about 1 month ago